
What kind of gift do you give a fifteen year old who is your source for the latest trends? He keeps me posted on the latest social media tactics, tells me fun brands to follow, etc... (in fact, my niece and nephew are the ones who introduced me to the power of YouTube!)
There's nothing trendy enough that I'd be able to find... so I resorted to a gift card from his favorite store. And, at least I can make a fun card! Although he may prefer the gift card over the handmade one. ;-)

Materials:
- Card base: 4.25"W x 11"H, scored at 5.5" mark
- Glitter Cardstock
- Mama Elephant: Lunar Animals stamps and dies
- Mama Elephant: Up and Away stamps and dies
- Mama Elephant: Fine Trimmings dies
- Simon Says Stamp: Painted Enjoy die
- Simon Says Stamp: Big Birthday Wishes stamp set
- The Stamps of Life: Gift Card Envelope Die
- Distress Ink:
- Squeezed Lemonade
- Spiced Marmalade
- Abandoned Coral
- Heidi Swap Color Shine in Sheer
- Memento Tuxedo Black Ink
- Copic Markers
- 0, C00, C0, C1, R20
- R22, R24, R29
- YG13, YG25, YG17
- YG0000, Y21, Y15
- Adhesive Tape Runner
- Foam Adhesive
Directions on YouTube:
- You can watch me create this card from start to finish on my YouTube Channel. Click here to watch the video on YouTube, if the embedded video doesn't play below.
Directions:
- Stamp all the images using Memento Tuxedo Black Ink and color with Copic markers.
- Die cut all the images using their coordinating dies.
- Die cut four "enjoy" dies from white card stock and one from glitter paper. Glue all the layers together.
- For the front panel, cut a diagonal line about 1/3 of the way from the top and bottom. These panels (Trapezoids!) will serve as a frame over the background. Use the Fine Trimmings to add a decorative edge.
- Using distress inks, ink blend a background on a card panel
- Stamp the sentiment on the bottom panel.
- Using foam adhesive, attach the top and bottom trapezoids and glue the rest of the pieces in place.
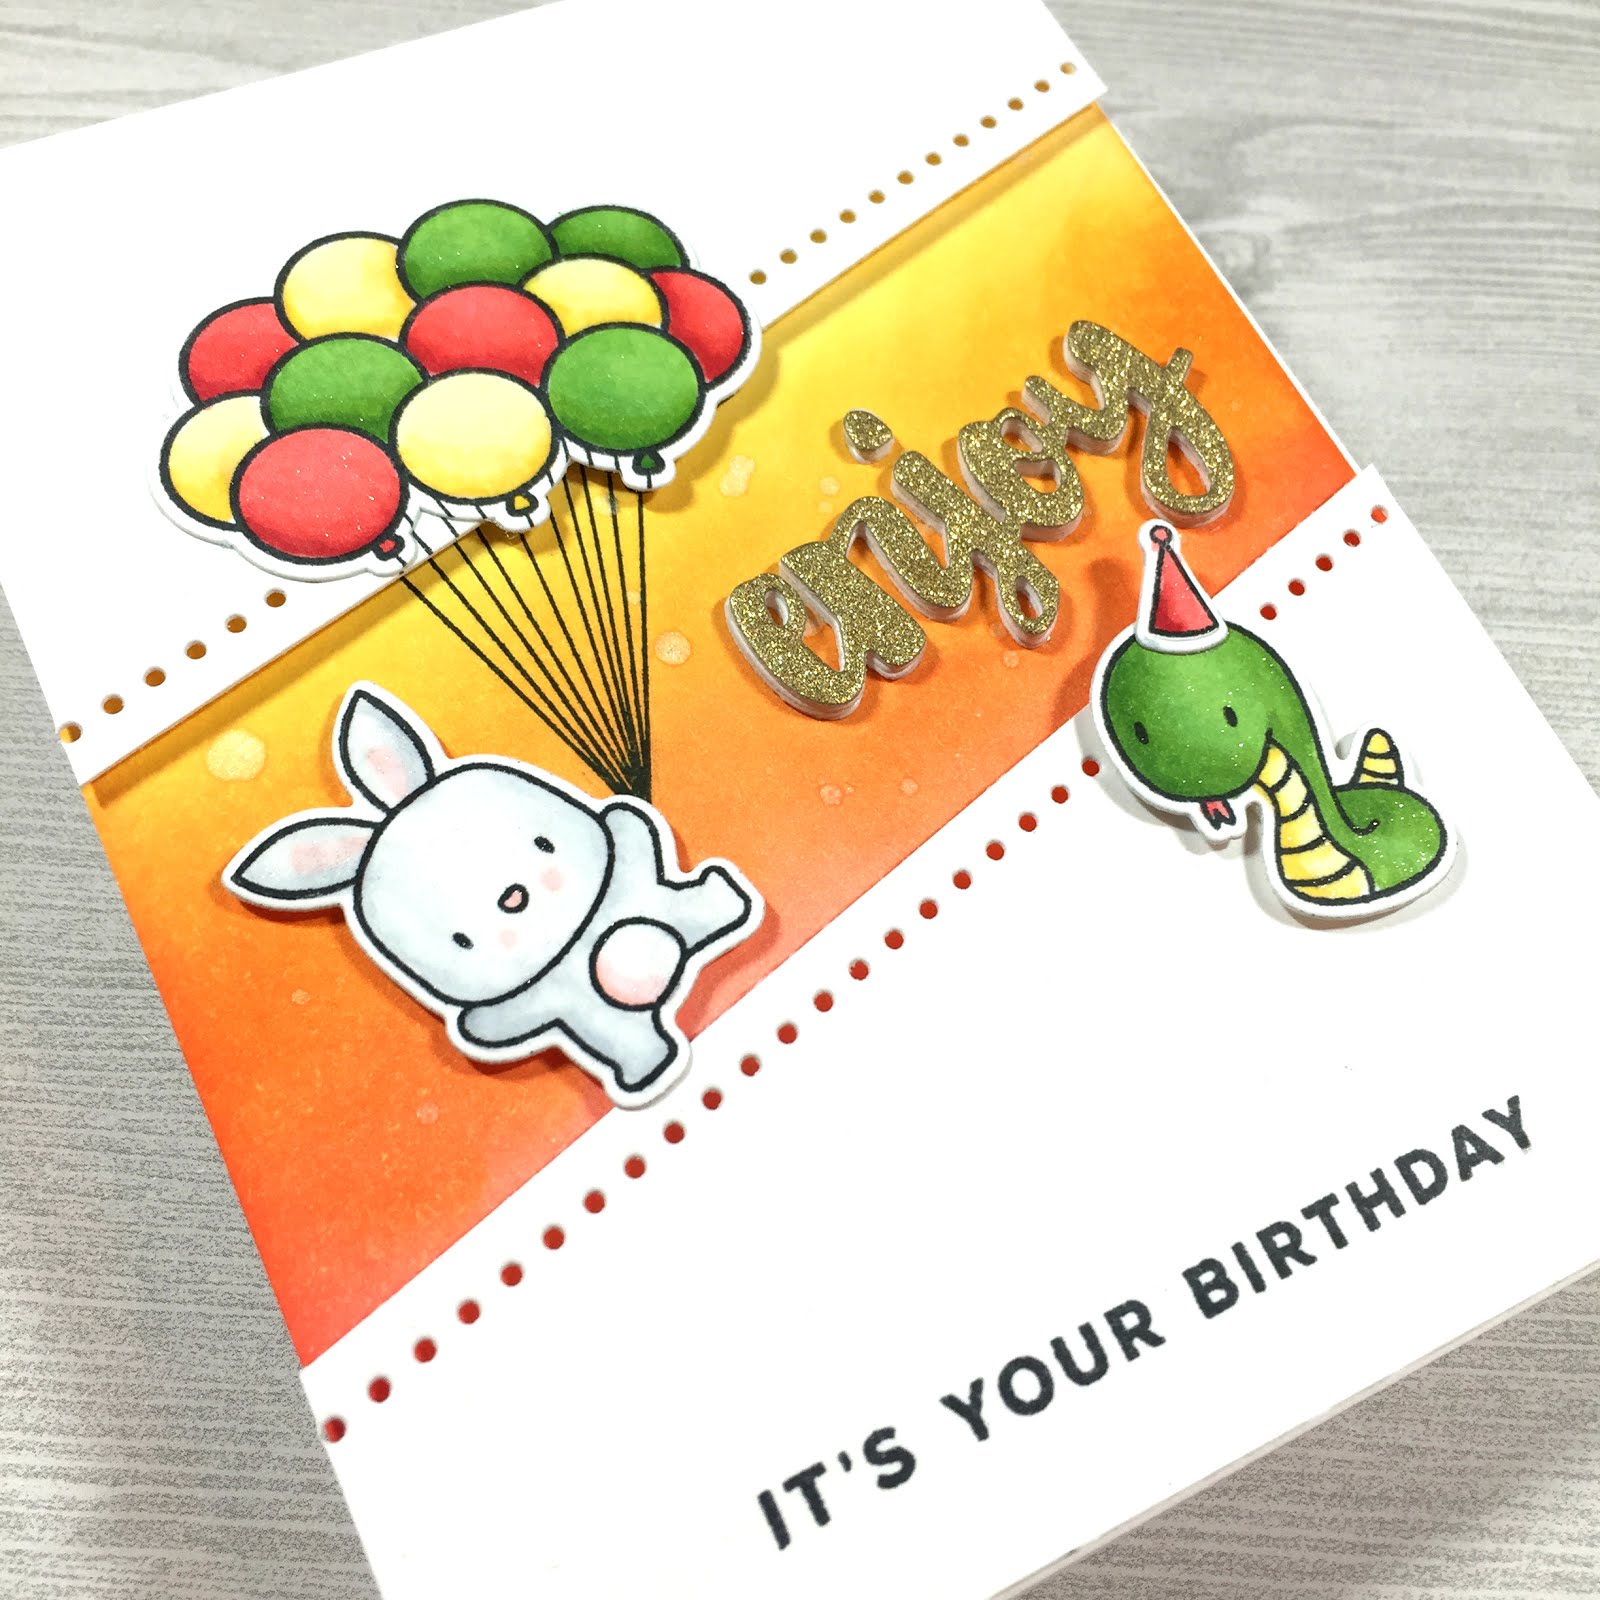
Here's a close-up shot of what the card looks like. Enjoy!
Happy Birthday, Jeremy!
Love, Gu Gu
Such a cute birthday card!
ReplyDeleteAw, thank you so much, Jeanette! Hope you are well!
Delete