
I am so excited to be hopping along with the Chibitronics and Xyron design teams. We were all asked to make projects incorporating Chibitronics circuit stickers and Xyron sticker machines. This was SO MUCH FUN!
When I was in elementary school, I wrote my "career goals" in a booklet. It said "When I grow up, I want to be...
1) an astronaut (I wasn't aware of my fear of G-Force and tight spaces, let alone poor eyesight)
2) a business guy (well, I'm not a guy, but yes I ended up getting my MBA)
3) a STICKER MAKER
I had the best sticker collection in town, or so I thought. So today... 30 years later... I can finally say that I am a full-fledged sticker maker, thanks to the team at Xyron!
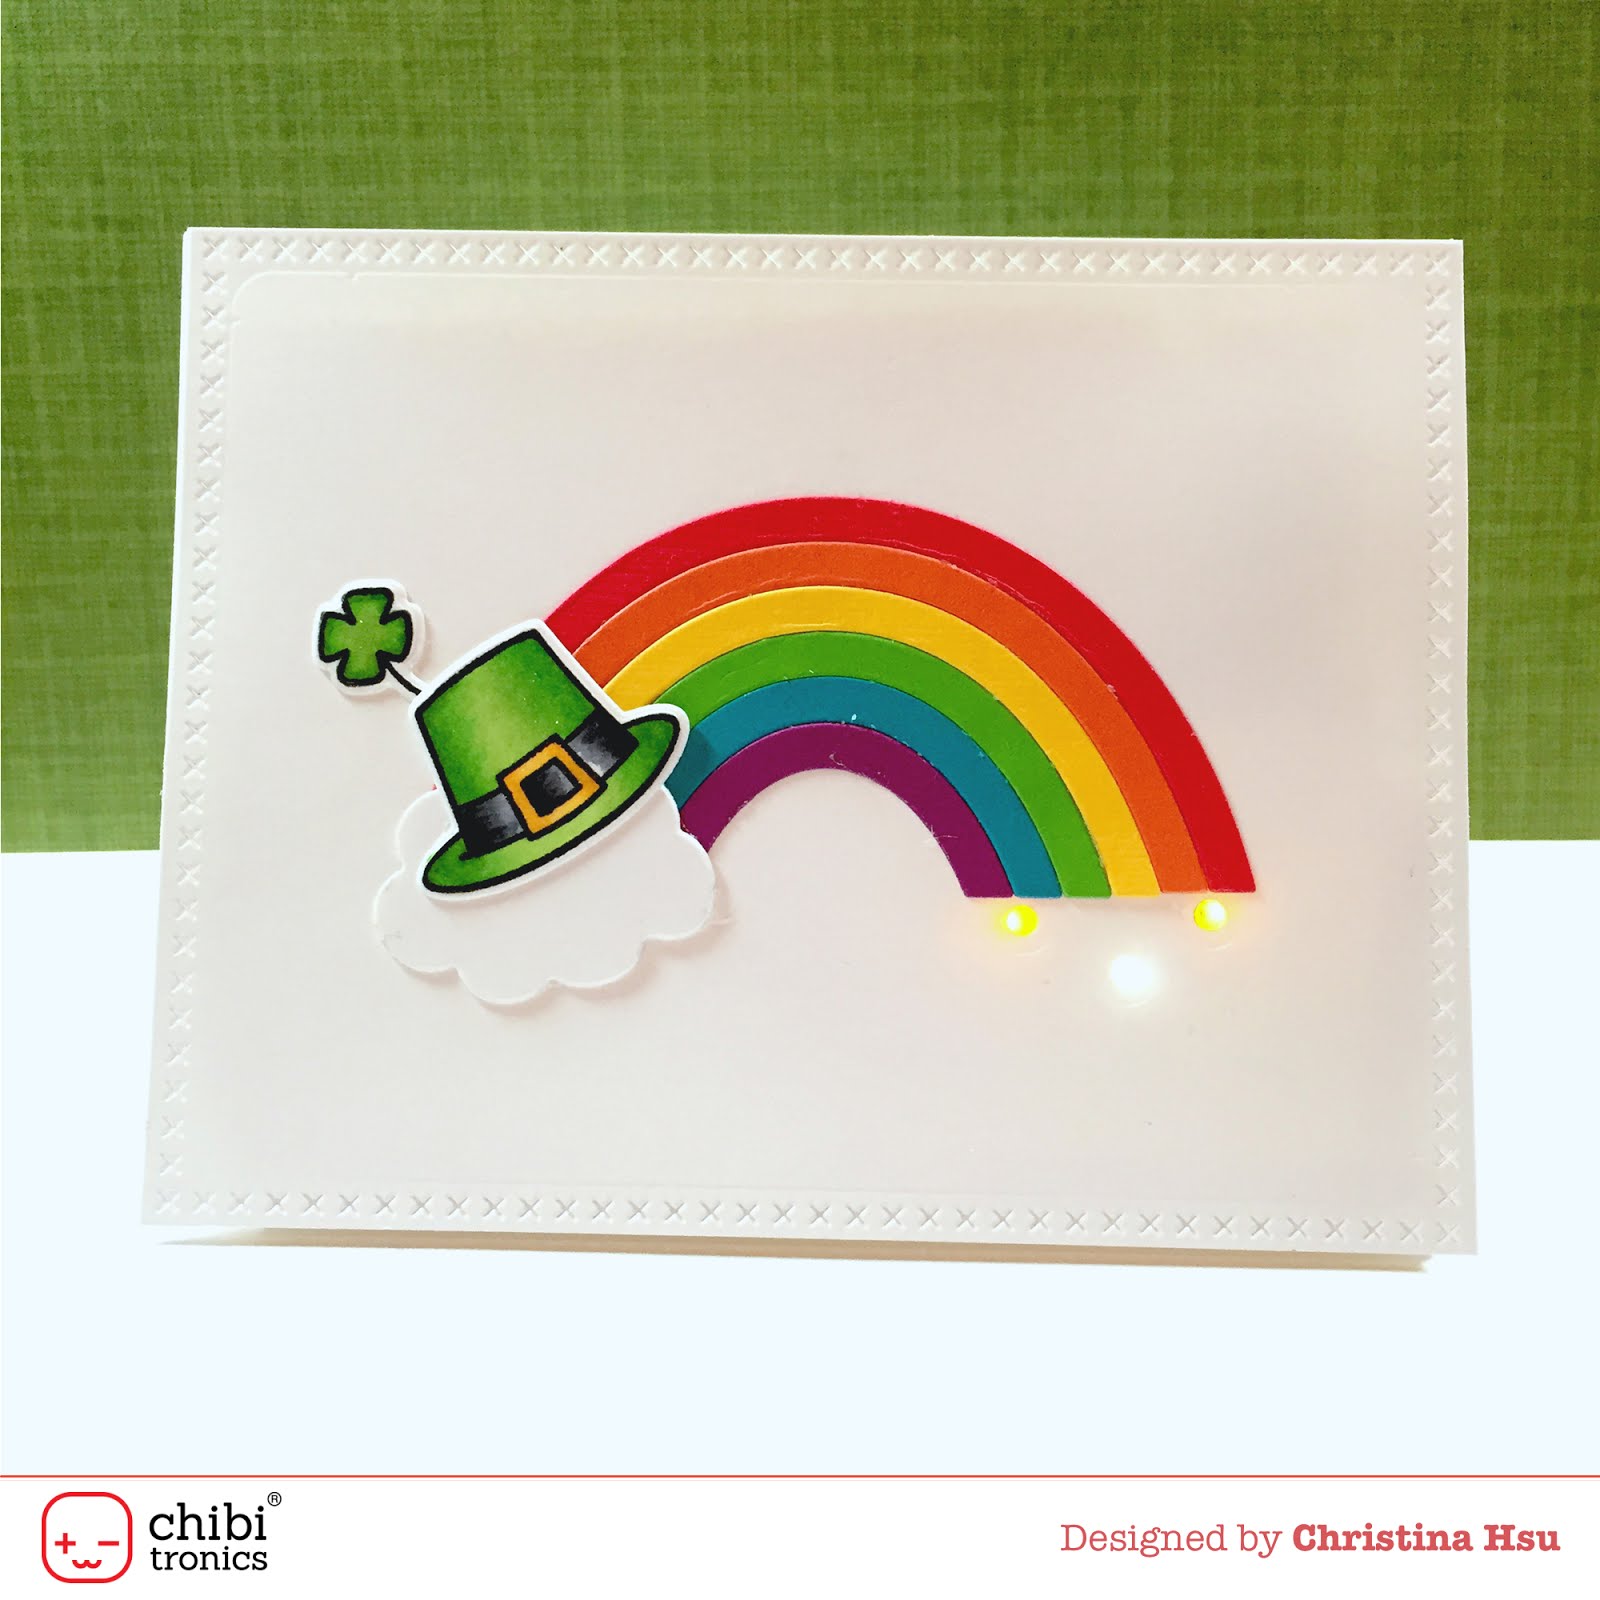
Here is my card in honor of St. Patrick's Day later this week. I'm not Irish, but I am from the Boston area, so this a throw back to my childhood dreams and love for rainbows... with a bit of Irish thrown in.
Materials:
- Chibitronics Starter Kit
- Xyron 1.5" Sticker Maker
- Xyron 3" Sticker Maker
- White card base: 5.5"W x 8.5"H, scored at 4.25" mark
- White card front: 5.5"W x 4.25"H
- Solid colored card stock in rainbow colors and white
- Lawn Fawn Rainbow Die
- Lawn Fawn Hats Off To You Stamp and Die Set
- Sizzix Hello Sunshine Triplit Dies
- Mama Elephant Sew Fancy Dies
- Copic Markers
- Memento Tuxedo Black Ink
- Wink of Stella Clear Glitter Pen
Directions:
- Stamp the hat and clover on white cardstock using Memento Tuxedo Black Ink. Color with Copic Markers. Add Wink of Stella Clear Glitter Pen for added sparkle. Die cut with coordinating dies.
- Die cut the rainbow from the different colors of card stock.
- Die cut the cloud and the sew fancy frame.
- Xyron Steps
- Run the hat and clover through the Xyron 1.5" Sticker Maker to make stickers. Keep the images facing up when you run it through.
- Using washi tape, gently adhere the layers of the rainbow in the correct order. Run this rainbow through the Xyron 3" Sticker Maker.
- Chibitronics Steps
- Place the rainbow on the card front and mark where you want the lights of "gold" to shine through. Use a 1/8" hole punch to punch out these holes.
- Using the card with the punched holes as a guide, mark where the lights need to be placed on the card base.
- Create a battery holder by folding a piece of paper in half. Mark off the positive and negative sides for battery placement.
- Line the lights with copper tape. Add the stickers and battery. Test to see if it lights up.
- Adhere the rainbow, cloud and hat to the front of the card.
- Adhere the front of the card to the card base.
- Tip: to turn off the lights, just slide a scrap piece of paper into the battery holder to "short" the circuit.
Enjoy and keep hopping along!
No comments:
Post a Comment
Look forward to your feedback and any fun ideas I should incorporate into my card designs. Or just say hello!