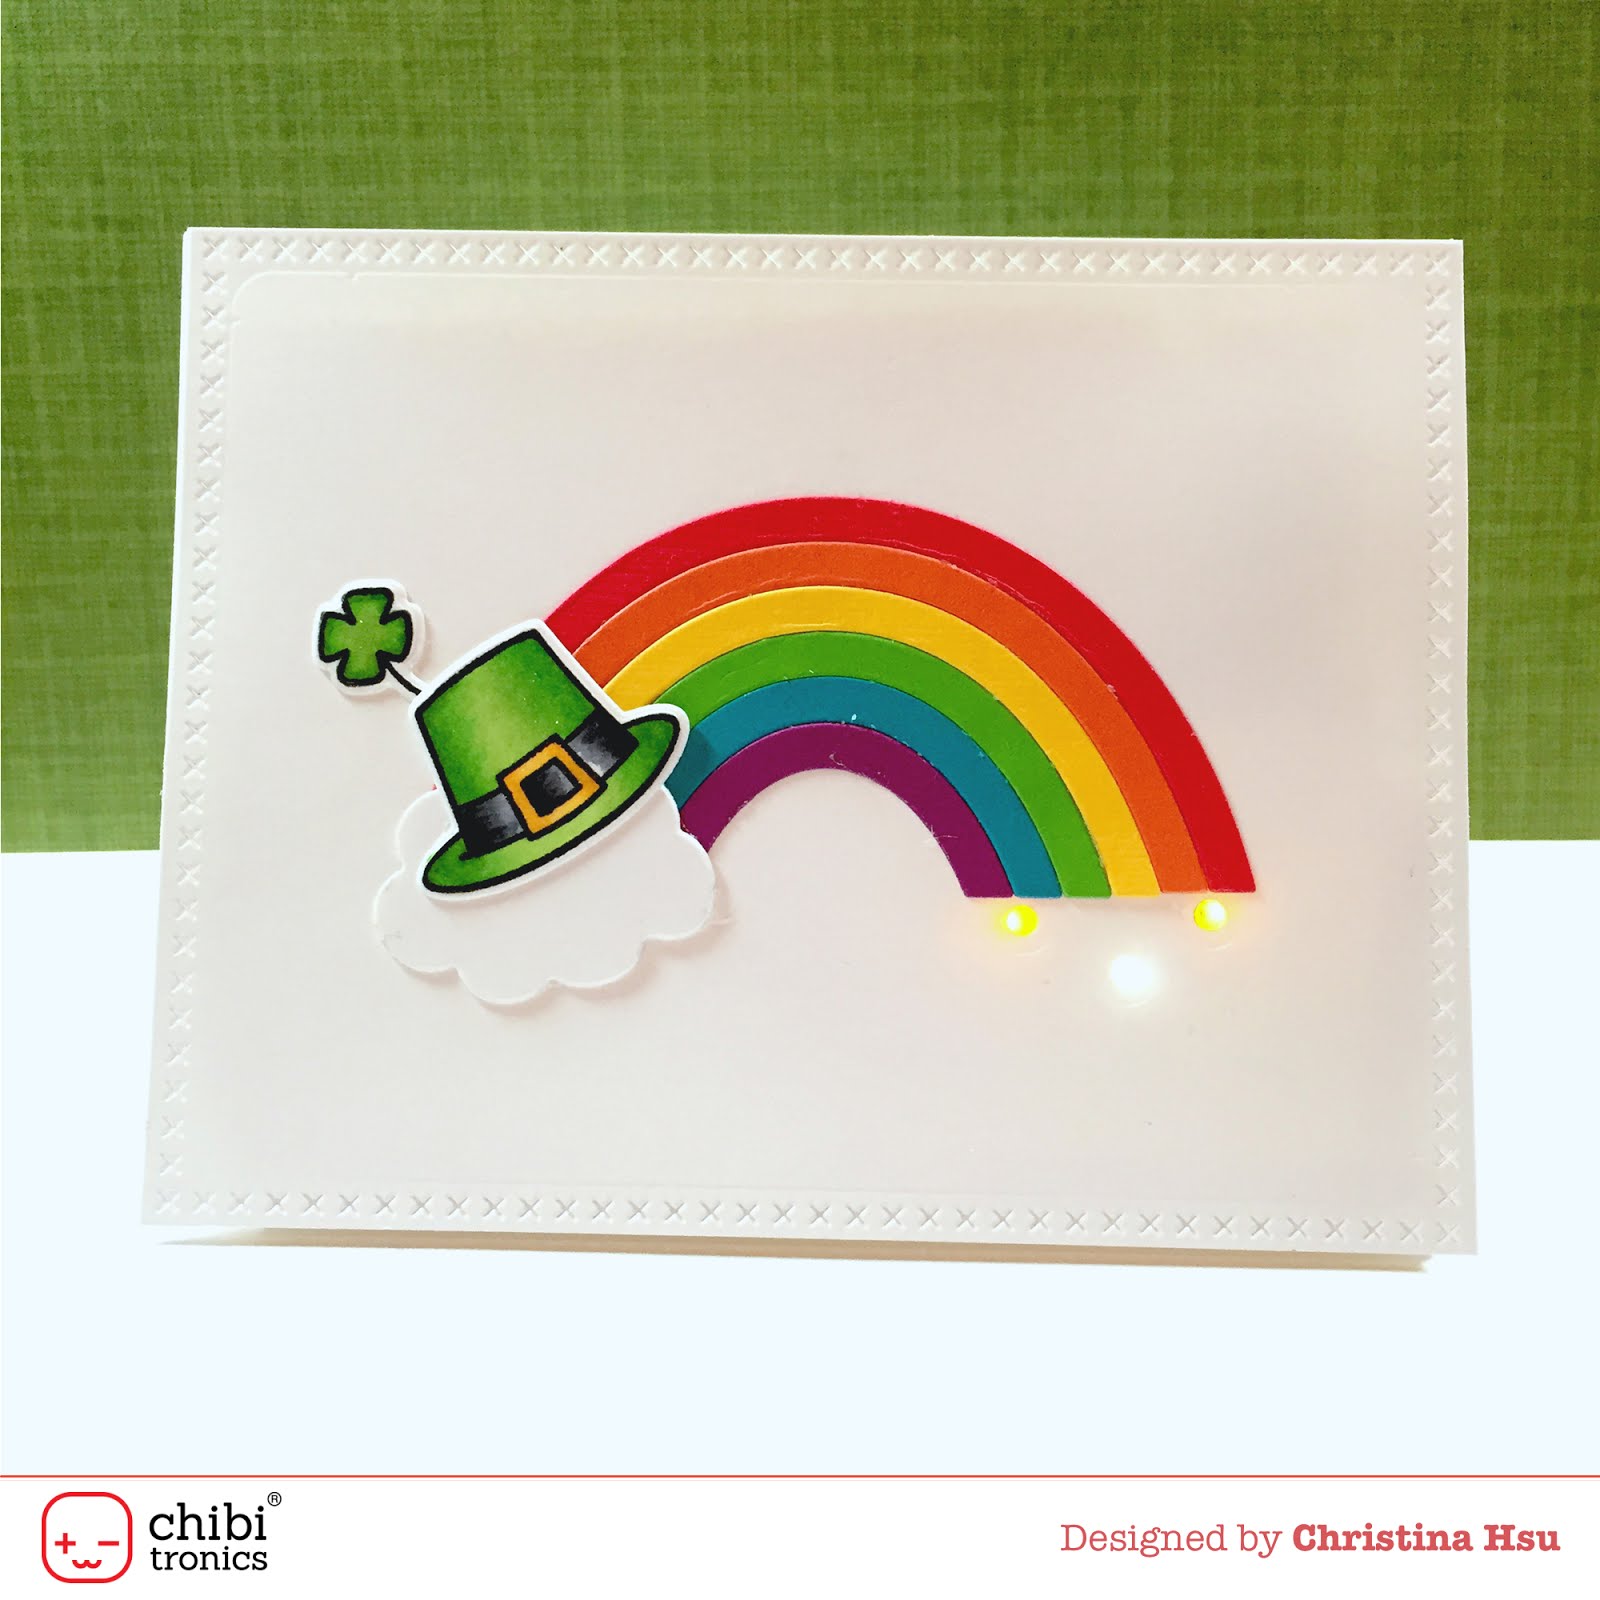
Showing posts with label chibitronics. Show all posts

Thursday, August 31, 2017

Collab: Chibitronics + Studio Katia


Hi everyone,

The Chibitronics and Studio Katia design teams have teamed up to bring you some fun projects. I made this card in honor of all the people in Houston who have been dealing with the Hurricane Harvey aftermath.  Even in the craziest, darkest times, there's a shining light that will lead them through this devastation.  My thoughts and prayers are with the families affected by the storm.

Here's what the card looks like:

Lights On!

Lights Off!


Materials:

About Chibitronics:
  • To learn more about Chibitronics, you can visit their website and see even more ways to use these exciting LED lights.  Some of my older card projects are posted on their craft page.  You can try out their tutorials and more advance techniques. Interested in trying it out for yourself? Check out their shop too!

About Studio Katia:
  • To learn more about Studio Katia, you can check out their website or visit their blog to see some amazing creative projects.  You can also find them on social media here: on FacebookInstagram, and Pinterest.

More Chibitronics Inspiration from Bubblegum Paper:
Have a wicked awesome day!

Christina

A note about the products used: The Chibitronics starter kit and the Studio Katia products were sent to me from both companies free of charge. I love everything I used in this project and would definitely use it again.  Thank you again for checking out this card.  

Friday, August 25, 2017

Collab: Chibitronics + Newton's Nook


Hi everyone,

It's been a while since I've made a card and I'll explain more in a future post.  But for today, I am so excited to be a part of another fun Chibitronics Collaboration.  This week the Chibitronics and Newton's Nook design teams have teamed up to bring you some fun projects.  I'm using this fun Cocktail Mixer stamp set.  After all it's a Happy Fri-YAY, right?!?

Here's what the card looks like:


Lights on!

Lights off!


Materials:

GIVEAWAY!

Now there's something in it for YOU too!  There will be a $30 store credit for Newton's Nook and a Chibitronics starter kit (valued at $30) given away randomly to two winners drawn from comments across all days and all blogs.  So the more you visit and comment, the better your chances of winning.  So check out the posts on the Chibitronics blog here and the Newtons' Nook blog here.


About Chibitronics:
  • To learn more about Chibitronics, you can visit their website and see even more ways to use these exciting LED lights.  Some of my older card projects are posted on their craft page.  You can try out their tutorials and more advance techniques. Interested in trying it out for yourself?  Check out their shop too!

About Newton's Nook:

More Chibitronics Inspiration from Bubblegum Paper:
Have a wicked awesome day!

Christina

A note about the products used: The Chibitronics starter kit and the Newton's Nook products were sent to me from both companies free of charge. I love everything I used in this project and would definitely use it again.  Thank you again for checking out this card.  


Wednesday, May 24, 2017

Collab: Chibitronics + Lawn Fawn

Hi everyone,

I am so excited to participate in a fun collaboraton! This week the Chibitronics and Lawn Fawn design teams have teamed up to bring you some fun projects.  I'm using this fun Wonderful Window die cut and Love Letters stamps in today's card.

Here's what the card looks like:


Materials:

GIVEAWAY!

Now there's something in it for YOU too!  There will be a $30 Lawn Fawn gift card and a Chibitronics starter kit (valued at $30) given away randomly to two winners drawn from comments across alll days and all blogs.  So the more you visit and comment, the better your chances of winning.  So check out the posts on the Chibitronics blog here and the Lawn Fawn blog here.


About Chibitronics:
  • To learn more about Chibitronics, you can visit their website and see even more ways to use these exciting LED lights.  Some of my older card projects are posted on their craft page.  You can try out their tutorials and more advance techniques. Interested in trying it out for yourself?  Check out their shop too!

About Lawn Fawn:

More Chibitronics Inspiration from Bubblegum Paper:
Have a wicked awesome day!

Christina

A note about the products used: The Chibitronics starter kit and the Lawn Fawn products were sent to me from both companies free of charge. I was given a gift certificate to select which products to showcase, so I definitely like everything I used in this project and would definitely use it again.  Thank you again for checking out this card.  

Monday, November 7, 2016

Fairy Wishes | Collab: Chibitronics + Lawn Fawn

Hello everyone!

I has been a long time since I've posted cards... but rest assured there are many cards (and videos) coming your way shortly.  Today, I'm posting another fun design team collabortation card.  The Chibitronics design team paired up with Lawn Fawn once again to bring you some festive holiday cards.  I used the Frosty Fairy Friends stamps and dies to make this card.


Materials:

  • Chibitronics: Chibi Lights LED Circuit Stickers starter kit*
  • Lawn Fawn: Frosty Fairy Friends stamps and dies*
  • Lawn Fawn: Cross Stitched Squares dies (large and small)
  • Lawn Fawn: Stitched Hillside borders dies
  • Distress Ink: Salty Ocean, Chipped Sapphire, Seedless Preserves
  • Copic Markers
  • Foam Adhesive
  • Adhesive Tape Runner
  • White card stock
    • 4"x4" square for the sky background
    • 4"x8" card base
    • extra card stock for frame and hills
Directions:
  • Stamp all the images, color with copic markers, cut out using coordinating dies
  • Die cut stitched hillside borders to make two hills
  • Die cut the cross-stitched frame
  • Use distress inks to blend the sky
  • Place all elements on the card to find the spot where the light sticker should go.
  • Punch a hole in the treehouse window and mark the spot on the sky card with a pencil
  • Punch a hole in the sky card.
  • Place sky card over the card base and mark the spot with a pencil.  This is where the light sticker goes.
  • Using copper tape, lay down a positive and negative lead to the battery holder and place sticker on top of the copper tape right over your pencil mark.  Place battery in battery holder.
  • Add foam adhesive in two layers around the entire card base and three sides of the battery holder to keep the battery from slipping out. 
  • Attach the sky background.
  • Layer the scene on top using foam adhesive and adhesive tape runner.
  • To turn off the battery, insert a scrap piece of card stock in between the battery and the copper tape.  When the recipient pulls the tab, the card will light up.


Note: the products noted with an asterisk (*) were generously provided by the sponsors.  All other products I purchased on my own.  All opinions expressed are my own. 

Monday, October 3, 2016

A Haunted Light-Up Card | Collab: Avery Elle + Chibitronics

Hi everyone,

I'm so excited to be participating in another fun Chibitronics collaboration.  Today we have teamed up with the Avery Elle design team to bring you some super fun projects.

I took the new Avery Elle chalet stamp set which features some really fun "build your own" Christmas-themed chalet, but I turned it into a spooky haunted house card for Halloween.  You can watch my YouTube video to see how I masked out parts of the stamp set to make it more Halloween-themed.  I also used the Avery Elle Merriest stamps for my sentiments.  I love these sentiments and I am pretty sure you'll be seeing a lot more of these in future projects.  I finished it off with their Wonky Stitches dies.

To make the card light-up, I started with the Chibitronics LED circuit sticker starter kit and made a parallel circuit, but instead of the starter kit lights (red, yellow, blue), I used the Tropical Lights add-ons to add more color.  I love the pinkish purple, green and orange lights.  They fit perfectly with any Halloween (or Mardi Gras) themed projects!

Here is the finished card:

A haunted light-up card featuring Avery Elle and Chibitronics products.
Watch those light glow - how spooky!


Materials:


Directions:

Click the image above to see how I made this card on YouTube.

For other design team projects visit their blogs here:


About Avery Elle:

  • Avery Elle is a small corporation located in Southern California.  They launched their first set of whimsical stamps in June 2012 and have now expanded into stamps, dies, and color coordinating pigment ink pads, patterned paper pads, twine and A2 top folding note cards. Avery Elle stamps, dies and paper are all proudly made right here in the USA.  
  • Don't forget to check out their shop and design blog, or you can also follow them on social media: Facebook, Instagram, Twitter and YouTube.

About Chibitronics:

  • Learn more about Chibitronics and check out more tutorials on their website. You can find the products used here in their shop.  You can also follow them on social media: Facebook and Twitter.

Note: the products noted with an asterisk (*) were generously provided by the sponsors.  All other products I purchased on my own.  All opinions expressed are my own.

Thursday, August 25, 2016

Collab: Chibitronics + My Favorite Things


Hi everyone,

I am so excited to participate in another fun collaboration.  Today the Chibitronics and My Favorite Things have teamed up to bring you some fun projects.  Today I'm sharing my project with all of you! I wanted to make a super interactive card.  My Favorite Things has these awesome stitched interactive windows.  Basically, you die cut the three windows and you let the recipient lift them up to see what's inside.  I already lifted them up in this card in order to take a picture to share with all of you.  It's kind of like an advent calendar.  Ooooh!  That's an idea I'm going to have to save for my Christmas card series... note to self!

In addition to the interactive windows, I incorporated the Chibitronics LED circuit stickers underneath each of the panels.  So the flowers and balloons light up.  Here's what the card looks like:


Materials:
Directions:

  • Please watch my YouTube video here to see me make this card from start-to-finish.  You can also click on the image below.
Click the image to watch me make this card on YouTube


More My Favorite Things and Chibitronics Creative Projects:

If you want to see more projects featuring My Favorite Things + Chibitronics, check out the posts on the Chibitronics blog here and the My Favorite Things blog for each day of the collaboration here: Day 1, Day 2, Day 3 and Day 4.


About Chibitronics:

  • To learn more about Chibitronics, you can visit their website and see even more ways to use these exciting LED lights.  Some of my older card projects are posted on their craft page.  You can try out their tutorials and more advance techniques. Interested in trying it out for yourself?  Check out their shop too!

About My Favorite Things:


More Chibitronics Inspiration from Bubblegum Paper:
Have an awesome day!

Christina

A note about the products used: Both the Chibitronics starter kit and the My Favorite Things products were sent to me from both companies free of charge. I was given a gift certificate to select which products to showcase, so I definitely like everything I used in this project and would definitely use it again.  Thank you again for checking out this card.  

Sunday, May 8, 2016

Lights, Cards, Action... Happy Mother's Day!

Hi everyone,

Happy Mother's Day to all you moms out there, especially my mom and my aunts who treat me like their very own daughter.  I have a very special card to share with you. This card features Chibitronics circuit stickers.  You know how much I love making projects with these stickers and I felt Mother's Day was a perfect occasion to use them.  After all, mothers everywhere are brightening up and sparking creativity in their children every day, right?

Here's the card with the lights off and on.  Aren't these Chirpy Chirp Chirp stamps from Lawn Fawn the cutest?  I love their flower border die cuts too!


Materials:


Directions via YouTube:

I'll be honest, the best way to see how this card was made is the watch the YouTube video (click here) because there were so many steps... and of course, I forgot to take step by step photos as I was making the card.  Oops!

Click the image to watch the video on YouTube


Directions - Condensed Step by Step:


  • Stamp the chicks, paint bucket, paint brush and butterfly with Memento ink and color with copic markers.  Use the coordinating die cuts to cut everything out.
  • Die cut the flower border from yellow, pink and green patterned paper.  The green patterned paper should have approx 1.5-2" of space below the higher hillside curve.  We are only using the flower tops from the pink and yellow paper, so it doesn't matter how much space you leave below the border.
  • Die cut a scalloped rectangular frame using the second largest scalloped rectangle and the second largest stitched rectangle.
  • Add distress ink to a card insert to create a subtle sky.
  • Glue the green flower border.  Add the pink tulips and yellow daisy tops to the border.
  • Stamp the sentiment in green ink to the bottom of the green hill.
  • Take a 1/8 inch hole punch and punch out the centers of the yellow flowers.
  • Mark these holes on your card base. This is where the lights will go.
  • Take a piece of cardstock 1"x2" and folder in half to create a battery holder.  Mark one side "+" and the other "-"
  • Run copper tape above and below the circles you drew on the card base.  One piece of tape should run to the negative side of a battery holder.  The other should run to the positive side of the battery holder.
  • Place the LED circuit stickers on top of the tape and center over your pencil mark dots.  Make sure all the negative (pointy) sides are touching the same piece of tape and all the positive (flat) sides are touching the same piece of tape, but different from the negative piece of tape.
  • Cradle the battery using foam adhesive.
  • Place foam adhesive around the enter border of the card.
  • Add the floral front.
  • Finish the card by adding the scalloped frame, chicks, paint brush, paint can and butterfly.
  • Tip: if you want to turn off the card so the battery doesn't run out, just insert a piece of cardstock or paper between the battery and the copper tape.  You can write "pull" on the paper and your recipient can just pull that out to light up the card.
Okay, that's a lot of words, so again, the best way to see how I made this card is to watch my YouTube video for this card.  And while you're there, please considering subscribing to my Bubblegum Paper YouTube channel!  Thank you so much!

Happy Mother's Day!

Wednesday, March 30, 2016

Collab: Chibitronics and Lawn Fawn - Well Done!

Hi everyone,

I am super duper excited to be joining this awesome collaboration with two of my favorite crafty brands: Chibitronics and Lawn Fawn! If you've been reading my blog for a while, you've probably seen me post many projects featuring both products.  I create things with these products on a regular basis.

Here are two projects that I made featuring Lawn Fawn's Let's BBQ stamp set along with Chibitronics Light Stickers.  My friend, Patricia, who runs Chibitronics LOVES to eat... so I made this card for her!


Materials:

  • Chibitronics Starter Kit
  • Lawn Fawn: Let's BBQ stamp set
  • Lawn Fawn: Scalloped Rectangle Stackables die 
  • Lawn Fawn: Grassy Border die
  • Lawn Fawn: Let's Bokeh In the Snow Patterned Paper
  • Simon Says Stamp: Stitched Rectangles Die
  • Distress Ink: Tumbled Glass
  • Copic Markers
    • Grill: C3, C5, C7, C9
    • Burger Patty: E55, E57
    • Burger Bun: E53, E55
    • Lettuce, Ketchup, Cheese: YG07, YG13, R22, R24, Y21, Y35
  • Versamark Ink
  • White Embossing Powder
Directions:
  • For the card: 
    • Stamp the grill, patty and burger images on Copic-friendly cardstock.  Color with Copic Markers and fussy cut.
    • Cut two shades of green cardstock from the grassy borders dies. Offset one on top of the other.
    • Using the Tumbled Glass distress ink, color a blue cloudy sky on some white cardstock
    • Layer the Grass and sky together and die cut the whole piece using the stitched rectangle dies
    • Also cut a piece of the red striped patterned paper from the stitched rectangle die.  Then go back and use the scalloped rectangle die to cut the edge forming an awning.
    • Using Versamark Ink, emboss the "Well Done!" sentiment on the awning using white embossing powder.
  • For the lights:
    • Punch two holes on either side of the burger patty on the grill.
    • Mark these holes in each layer leading to the card base
    • On the card base, line up the lights so they match the holes and create a parallel circuit using two red stickers.  This is what the circuit looks like (pardon, the ripped, paper... I forgot to take a photo while making the card, so I went back and removed the front to take this photo)
  • Using foam adhesive, prop up the card front.
  • And there you have it!

Check out all the exciting projects that the Design Team members made over at the Lawn Fawn blog and the Chibitronics blog.

Okay, who's hungry now????

Enjoy!
Christina

Monday, March 14, 2016

Blog Hop: Chibitronics and Xyron - Rainbow Season

Hi everyone,

I am so excited to be hopping along with the Chibitronics and Xyron design teams.  We were all asked to make projects incorporating Chibitronics circuit stickers and Xyron sticker machines.  This was SO MUCH FUN!

When I was in elementary school, I wrote my "career goals" in a booklet.  It said "When I grow up, I want to be...
1) an astronaut (I wasn't aware of my fear of G-Force and tight spaces, let alone poor eyesight)
2) a business guy (well, I'm not a guy, but yes I ended up getting my MBA)
3) a STICKER MAKER

I had the best sticker collection in town, or so I thought.  So today... 30 years later... I can finally say that I am a full-fledged sticker maker, thanks to the team at Xyron!

Here is my card in honor of St. Patrick's Day later this week.  I'm not Irish, but I am from the Boston area, so this a throw back to my childhood dreams and love for rainbows... with a bit of Irish thrown in.


Materials:

Directions:
  • Stamp the hat and clover on white cardstock using Memento Tuxedo Black Ink.  Color with Copic Markers.  Add Wink of Stella Clear Glitter Pen for added sparkle.  Die cut with coordinating dies.
  • Die cut the rainbow from the different colors of card stock.
  • Die cut the cloud and the sew fancy frame.
  • Xyron Steps
    • Run the hat and clover through the Xyron 1.5" Sticker Maker to make stickers. Keep the images facing up when you run it through.
    • Using washi tape, gently adhere the layers of the rainbow in the correct order.  Run this rainbow through the Xyron 3" Sticker Maker.
  • Chibitronics Steps
    • Place the rainbow on the card front and mark where you want the lights of "gold" to shine through.  Use a 1/8" hole punch to punch out these holes.
    • Using the card with the punched holes as a guide, mark where the lights need to be placed on the card base.
    • Create a battery holder by folding a piece of paper in half.  Mark off the positive and negative sides for battery placement.
    • Line the lights with copper tape.  Add the stickers and battery.  Test to see if it lights up.
  • Adhere the rainbow, cloud and hat to the front of the card.  
  • Adhere the front of the card to the card base.
  • Tip: to turn off the lights, just slide a scrap piece of paper into the battery holder to "short" the circuit.
Enjoy and keep hopping along!


Saturday, March 14, 2015

Happy Pi Day!

Hi everyone,

Today is Pi Day... March 14.  And this year, Pi Day is even cooler!  It's 3.14 '15.  Nerdy, but cool, right?  I went to a college (or an Institute) that embraces Pi Day to its fullest.  Every year, the MIT Admissions committee sends their decisions out on Pi Day -- this year, they took it one step further and sent them out at 9:26am ET.  3.1415926... Here's a fun video of the announcement.

In honor of Pi Day and all those admitted to MIT this year, I created this card... using Chibitronics stickers, of course since these circuit stickers were also developed at MIT.


Materials:

 Directions:

  • Print a Pi symbol on white card stock using your computer/printer.
  • Use the largest stitched rectangle die and cut out the card front
  • Cut out the "Oh Happy Day" sentiment die from the gold glitter paper
  • Punch holes using a 1/8" hole punch in the Pi Symbol on both the white and blue card stock
  • Using a pencil, mark the holes on the kraft card base.
  • Place the copper tape, Chibitronics circuit stickers and battery holder on the card base... see image below for the layout


  •  Add foam adhesive to the card base.
  • Ta Da!  It lights up. 


Happy Pi Day... now, let's go eat some Pie!

Thursday, January 15, 2015

2015 CHA Make & Take Exchange "Thank You" Card

Hello friends,

I attended the 2015 CHA MEGA Show in Anaheim, CA this past week.  It was such a wonderful, creative experience and I met so many incredibly talented designers, manufacturers and creative professionals.  One of the workshops I attended was a Make and Take Exchange.  Similar to a Cookie Exchange, we all made 26 Make and Takes and "traded" with other crafters.  Over 30 people attended the workshop.  Below is an image of my Make and Take featuring Chibitronics Circuit Stickers - easy to use stickers that light up!


I also created a Flipagram video showing the various steps outlined in detail below:


Materials:

Directions:

Top Flat Card Prep:
  1. Tie the ribbon to the top of the patterned paper and place at approx. 1/4” from the top of the card.  I usually tie a bow onto the flat ribbon and then use glue dots to wrap the ribbon around the back of the card.

  • Adhere the patterned paper to the “thanks” card with your adhesive tape runner. 
  • Using a 1/8” hole punch, punch a hole through the largest star above “thanks”
  • Temporarily place this flat card on top of the folded card and trace the hole with a pencil.  This is where your Chibitronics circuit sticker will go.
  • Set aside the patterned paper piece.

Adding the Light Sticker:
  • Fold the battery holder in half.  On the inside of this paper, write a “+” on one side and “-” on the other.

  • Glue the “-” down with the “+” flap folded up.  This is where the battery will sit.
  • Using the copper tape, run the tape along one side of the pencil mark (as close to it without covering it) to the “-” on the battery holder.  Tear it once you hit the middle of the battery holder.
  • Using the remaining copper tape, run the tape along the other side of the pencil mark, again as close to it without covering it, to the “+” on the battery holder.  If you need to fold the tape, the best way is to fold away from the direction you want the tape to go, and then fold the tape back on itself.
  • Using washi tape, cover any parts of the “+” tape that might touch the bottom of the battery.
  • On the circuit sticker, you will notice a “+” and “-” side.  The “+” side is wider.  The “-” side is the pointy side.  Place the sticker on the pencil dot so the pointy “-” side touches the copper tape leading to the “-” of the battery holder and the wider “+” side touches the copper tape leading to the “+” of the battery holder. 

  • Add the battery to the battery holder.  Close the flap to test the light.
  • Add foam adhesive to the inside edge of the battery holder, so the battery doesn’t roll into the middle of the card. 
  • Use the remaining foam adhesive and place around the rest of the card to even out the dimension.


Putting it All Together and Storage:
  1. Place the “Thanks” flat card on top of the folded card base.  Be sure to line up the dots so the light shines through the punched hole.
  2. To turn off the lights for storage, you can either take out the battery, or just slide a piece of scrap paper between the battery and the copper tape and pull to remove when you want to use it.
  3. If you remove the battery, just store it away from the copper tape so it doesn’t drain.
Enjoy!  Please leave a comment below if you have any additional questions and I'd be happy to answer them!  Have a great day!


Friday, January 2, 2015

A Chibitronics New Year Greeting!

Greetings, everyone!  I am so excited to bring you another electrifying Chibitronics card.  We are gearing up for the CHA (Craft and Hobby Association) MEGA Show in Anaheim next weekend.  So... stay tuned for some behind the scenes shots!


I made a video that highlights the steps for making this card. I also included directions below.
Materials:
  • Black card base: 4.25"W x 11"H, scored at 5.5" mark
  • White card insert: 4"W x 5.25"H
  • Cuttlebug Embossing Folder - Retro Stars
  • Gold Glitter Paper - 1"W x 3.25"H
  • Black Paper Strip - 1.25"W x 3.5"H
  • My Favorite Things Bright Lights Numbers Die-namics Set
  • Sizzix Dies from Triple Circle Flipits Die Set (Scalloped and Pierced Circles)
  • Paper Source Labels - 1.25" Circle Labels
  • Chibitronics White LED lights
  • Chibitronics Copper Tape
  • Battery (CR2032)
  • Battery Holder - black paper cut to 1"Wx 2"H

Directions:

  • Use the embossing folder and emboss the white card stock
  • Die cut the numbers 2, 0, 1, 5 from black paper
  • Cut a fish tail (a "v") from the bottoms of the gold glitter and black strips of paper.  
  • Temporarily place the die cut numbers on the gold glittered paper and mark the placements of the LED lights accordingly.  I chose random placements, but you could keep them all in the same spot if you'd like (i.e. top most dot on each number).
  • Punch holes through the gold, black and white embossed papers to match the LED placements.
  • Mark the holes on the black card base.

  • Layout the copper tape, battery holder and LED stickers according to the design below.  The LED stickers match the pencil marks for the holes.

  • Add foam tape around the edges of the card to provide dimension and even out the battery section.  
  • Layer all the pieces of paper on the white card stock.  Make sure the holes line up and the light shine through.
  • Print "happy new year" onto a circle label.  Die cut the pierced circle and scalloped circle from the gold and black pieces of paper.  Layer together and adhere to front of the card with foam adhesive.

Happy New Year!  Hope it's super and bright!

Monday, December 15, 2014

Countdown to Xmas: 25 Days, 25 Cards - Day 15

Hello all!

Today I have a very special twinkling card to share.  I incorporated cool Chibitronics circuit stickers into this card to electrify the string lights.  Chibitronics circuit stickers are super easy to use and really fun... and they have a way of making you feel smarter when you're done with the project.  I also used the lights4Christmas stamps and die sets from The Stamps of Life.


Materials:

  • Green card base: 8" Square, folded at 4" mark to make a 8"W x 4" top folding card
  • Patterned paper: 7.75"W x 3.75"H
  • White paper: 7.5"W x 3.5"H
  • Patterned paper and glitter paper for the lights
  • Green baker's twine (from local craft store)
  • Chibitronics circuit stickers in blue, red and yellow
  • Chibitronics copper tape, approximately 11"
  • Battery (CR2032)
  • Foam Tape
  • Adhesive Tape Runner
  • The Stamps of Life lights4Christmas stamp and matching die set
Directions:
  • Stamp the "Twinkle Twinkle" sentiment in the lower right corner of the white card stock using Versamark ink and heat emboss with Liquid Platinum embossing powder.
  • Die cut the string lights from three different glitter and patterned papers.  I chose red, blue and yellow ones to match the circuit stickers.  This die set is great.  It includes a larger die for the background and a smaller die for the actual light bulb.  You can mix and match patterned paper to your heart's delight!
  • Glue the patterned paper to the glitter paper
  • Punch a 1.8" hole just above the patterned paper.  See image below.

  • Place the string lights on the white paper and mark the holes on the white background paper.
  • Glue the white paper to the red patterned paper.  Punch holes through both the white and patterned paper.
  • Mark these same holes on the green card base, but don't punch holes in the green paper.  This will be your guide for the circuit stickers.

  • Place copper wire above and below the circuit stickers and connect them to a makeshift battery holder (1"x2" piece of card stock, folded). 


  • Place the circuit stickers exactly where the penciled marks are located.  Add the battery to the battery holder and see if it works.


    • Add foam tape to the edges to provide dimension and space for the battery.


    • Place the white/red card stock over the lights to make sure everything lines up.  If they don't move the stickers around so they do.

    • That wasn't so bad, right?  So now you just add the lights and the twine to the front.  Use glue dots for the twine and regular tape runner adhesive for the lights.
    Twinkle Twinkle!  Enjoy!