Showing posts with label baby cards. Show all posts

Wednesday, May 27, 2015

"New" Product Tuesday (on Wednesday): Baby Cards, Mirror Stamping and a VIDEO!

Hello everyone,

One of these days, I'll get back to my normal schedule of posting on Tuesday.  I had my card done and ready to go, but decided in the eleventh hour to make a video.  Since I'm still new at this video thing, it took me an extra day.  However, I made TWO more cards... so that's kind of a bonus, right?


This week, I am featuring the Lawn Fawn Plus One stamp and die set.  This set is perfect for baby shower cards and baby cards. I wanted to make a card with a mobile that dangles in the front window, but I needed to make a mirror image of the stamp... so this was a super fun technique to try.
I also incorporated a new technique called "mirror stamping."  That is, it's new to me.

I'm also submitting these cards to the Lawnscaping Challenge #106 which is all about incorporating new techniques.

Video:

I made a video for this card too.  Yes, very rare for me to make videos, but I'm getting there.  My BFF gave me a tripod so that helped a ton. I no longer had to tape the camera to my step stool to get an overhead shot!  If you have trouble viewing this video, you can watch it on YouTube here.


Materials:

Directions:
  • Watch my YouTube video for details on how to make this card... trust me, it's easier to follow than trying to understand the steps below!  But if you want, you can keep reading below.
  • Stamp the baby mobile stamp using Memento Tuxedo Black Ink
  • Create a "mirror" image of the stamp by stamping the image on the back of the smooth side of a larger stamp.  You can use any stamp.  I happened to have this Simon Says Stamp birthday stamp set out on my desk.  Once you stamp the image on the larger stamp, carefully turn it around and stamp it on the paper.
  • Outline the mirror image with the Copic Multiliner pen to darken the outline.
  • Color in with Copic Markers
    • BG000, BG53, BG57
    • YG03, YG17, YG67
    • R81, R83, R85
    • Y0000, Y000, Y21
    • Copic Multiliner
  • Die cut the images using the coordinating die. For the mirror image, you will need to die cut from the back.
  • Die cut the fancy frame label from the front of the patterned paper and the front of the card base.  Also die cut four yellow frames using the same size window die and the one just slightly larger.
  • Glue the mobile images to some thread and adhere to the front card base.
  • Adhere the patterned paper to the front
  • Add the yellow frames to the inside and outside of the card.
  • Add some glitter to the pink and blue stars using the Wink of Stella clear glitter pen.
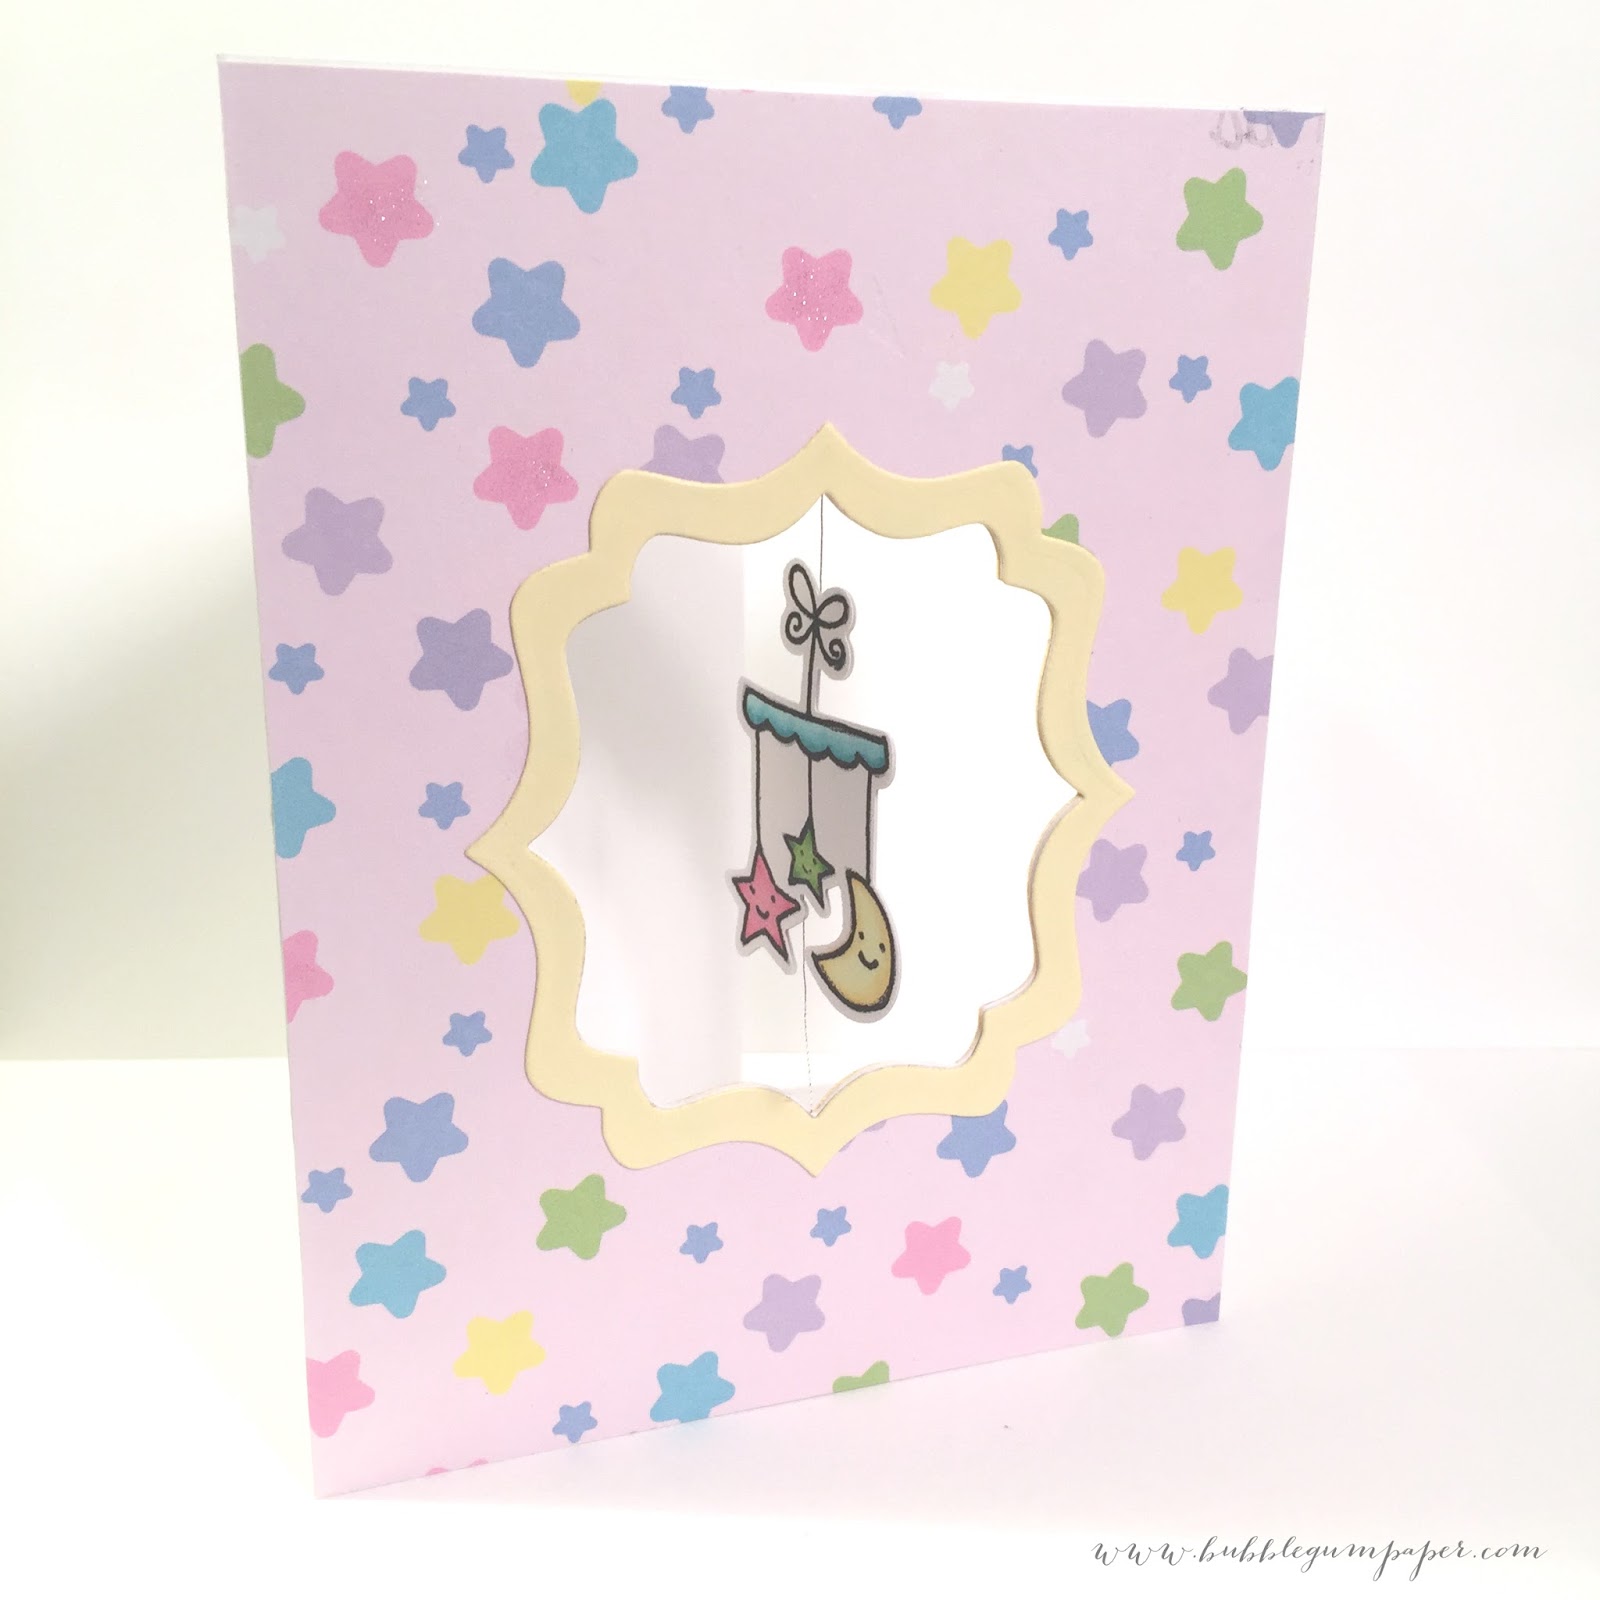
Here are image of both cards.  You can see the mirror stamping effect on the pink card.


Please leave a comment below and let me know what you think of this mirror stamping technique!

Have a wonderful week!


Tuesday, May 12, 2015

"New" Product Tuesday: Bokeh Watercolor technique featuring Mama Elephant Stamps

Hello!

Happy Tuesday!  Today I had a ton of fun experimenting with watercolors, pigment ink and a new Mama Elephant "Up and Away" stamp and die set (well, new to me that is).  I created two cards.  Yes, two!!  I had so much fun making the first one... so I decided to make a second card since all my supplies were out.  These would make great baby cards.  I have several friends who are expecting babies in the next few months.  Some know the gender and others are keeping it a surprise.


I really wanted to make a watercolor background and I've been intrigued by the Bokeh effect that I've seen on Instagram and in YouTube videos.  This was so much easier to do than I expected!

Materials:

  • Kraft Card Stock: 4.25"W x 11"H, scored at 5.5" mark
  • Pink and Blue Card Stock: 4"W x 5.25"H
  • White Card Stock: 3.75"W x 5"H
  • Watercolor Paper: 4"W x 5"H, then trim down to 3.5"W x 4.75"H
  • Mama Elephant Up and Away Stamp and Die Sets
  • Yellow Baker's Twine
  • Spellbinders Back to Basics Tag Die
  • Homemade Circle Stencil
  • Hero Arts Unicorn Pigment Ink and Soft Granite Shadow Ink
  • Ranger Distress Inks:
    • For the Pink Card: Picked Raspberry, Dried Marigold, Squeezed Lemonade
    • For the Blue Card: Salty Ocean, Tumbled Glass, Squeezed Lemonade
  • Adhesive
Directions:
  • Start with all the watercoloring... this way you can let your watercolor background dry naturally.  
  • Tape the watercolor paper to a hard surface using painter's tape or washi tape.  I used an art board (similar to the back of a clipboard).  The water tends to warp the paper, so having it taped down helps keep the paint in place.  Apply a clear coat of water using a clean brush over the entire surface.
  • Spread the distress inks on an acrylic block.  Using a paintbursh, gradually add each of the colors to the wet watercolor paper.  I like to start with the lighter color and go darker.  Since I was using three different colors... I went in rainbow order.  Just because :-)
  • Here's a picture... sorry the lighting isn't that good

  • Once the background has dried, use the pigment ink and a circle stencil to apply the Bokeh effect.  I didn't have a stencil, so I made my own using a sheet of plastic and various sized circle dies from Sizzix.

  • Use different degrees of pressure when applying the dots.  I like the small ones to be the most visible so I used more pressure there.  Here's what it looks like.  Once it dries, the pigment ink lightens up a little, so don't be afraid to push hard.  
  • While all that was drying, I colored the rabbit from the stamp set using copic markers.  I used C00, N0 and N2 on the main body and accented it with R20 in the ears, cheeks and feet.  I used R20 and R22 for the pink flower and Y000 and Y21 for the yellow flower.
  • Die cut the rabbit and fussy cut the flower.
  • Stamp the sentiment on a white tag (I used a Spellbinders die to cut out this tag).
  • Tie some twine on the end of the tag
  • Cut all the paper down to size and adhere each layer.  Add the sentiment, rabbit and flower to the front using foam adhesive.
Here are the two cards: 


Enjoy and have a GREAT day!

Tuesday, March 31, 2015

"New" Product Tuesday: My Favorite Things Spotlight Sentiments and Baby Cards!

Hi everyone,

Ooo... I'm cutting it pretty close for today's "New" Product Tuesday post.  I believe it's already Wednesday in most parts of the world.  Oh well... at least these cards were made on Tuesday (Pacific Time).

I don't know about you, but I seem to have a lot of friends posting exciting news about new additions to their families.  Some are going to be parents for the first time, others are on their second child and beyond.  I never seem to find unique baby-themed cards in stores, so I've slowly gathered more and more baby designs.

My new product for today is the My Favorite Things Spotlight Sentiments stamp set.  I used the "Congrats" repeating stamp to make my own background paper.  From there, I used a combination of layered paper and layered die-cutting to create two cards.  This technique is so much fun.  It reminds me of building a jigsaw puzzle... only easier!

Card #1: Featuring the handmade MFT background pattern

Card #2: Using extra leftovers from Card #1

Here is the stamp set I used from My Favorite Things:


I also used the baby onesie die cut from The Stamps of Life and the "Congratulations" word die from Paper Smooches.

Materials:
  • Two white card bases: 4.25"W x 11"H, scored at 5.5" mark
  • Two pink frames: 4.125"W x 5.325" H
  • Two sheets of white card stock for the plain white and patterned paper (4"W x 5.25"H)
  • Extra pink card stock for the "congratulations" die cut on the front of the cards
  • My Favorite Things: Spotlight Sentiments Stamp
  • The Stamps of Life: Baby Onesie die cut
  • Paper Smooches: Congratulations die cut
  • The Stamps of Life:  duck from the onesie4baby stamp set
  • Simon Says Stamp: Stitched Rectangle die cut
  • Tombow: Adhesive Tape Runner
  • Hero Arts: Tide Pool shadow ink pad
Directions:
  • Use the "Congrats" spotlight stamp and ink pad to create the patterned paper.  You may want to practice on some scratch paper to get the spacing right.  What's great about this stamp set is you can see through the stamp and acrylic block which helps line things up.  If your acrylic block has lines on it... even better!  Mine didn't.
  • Lay the two pieces of white card stock on top of each other.  Line up the stitched rectangle and the onesie die and run through your die cutting machine.  See below for picture.


  • Paper piece the card fronts by putting the patterned onesie on the white background paper and putting the white onesie on the congrats patterned paper.  Temporarily tape in place.  
  • Now run the "Congratulations" die across these two card fronts.  Be sure to keep all the pieces and centers of the letters.  You will need these to assemble the puzzle.
  • Die cut two "Congratulations" words from the extra pink card stock.
  • Paper piece everything together.  This is the FUN part!!
  • Glue on top of the card frame and card bases.  Now you have two baby cards to send to your friends!  Aww... how cute!

Enjoy!